How to add an HTML5 audio player to WordPress
This tutorial will show you how to add an HTML5 audio player to your WordPress website.
Step 1 – Create an HTML5 audio player WordPress plugin in Amazing Audio Player
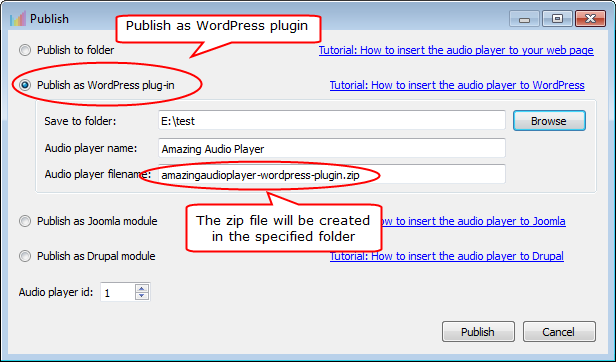
In Amazing Audio Player, create an audio player, then click button Publish. In the Publish dialog, choose the option Publish as WordPress plugin, then click button Browse to select a folder to save the plugin zip file.
Click the button Publish, the WordPress plugin zip file will be generated in the specified folder.
Step 2 – Install and activate the plugin in your WordPress website
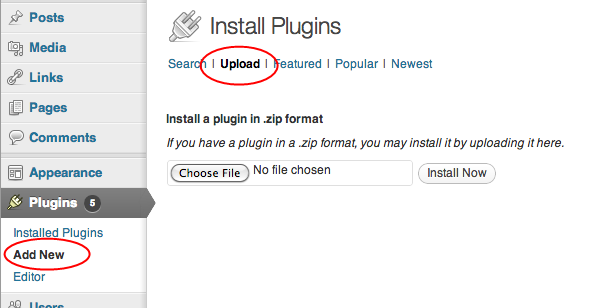
The HTML5 audio player WordPress plugin is created in .zip format. To install the plugin, goto your WordPress administration area, click menu Plugins -> Add New -> Upload, choose the ZIP file and click button Install Now. Or you can directly upload the ZIP file to the your WordPress plugins folder, and unzip it there.
After the installation, you can goto Plugins page to activate the Plugin.
Step 3 – Copy the shortcode to your post or page
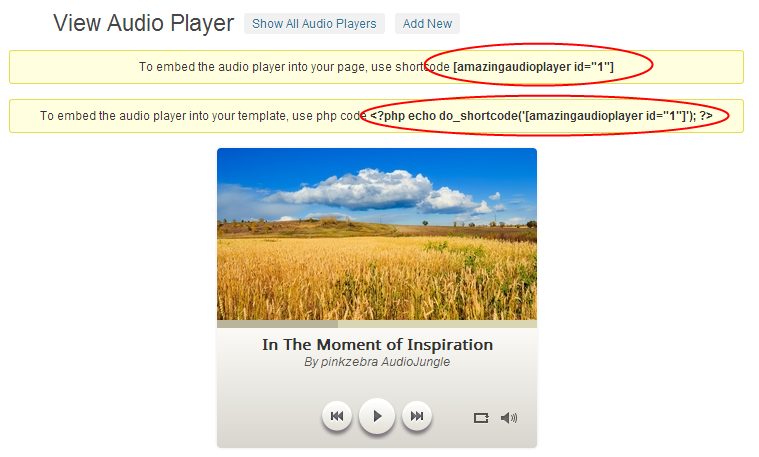
After the plugin is installed and activated, the menu item Amazing Slider will show up. Click the menu, the installed players will be listed in the table. Move your mouse over the item, then click View.
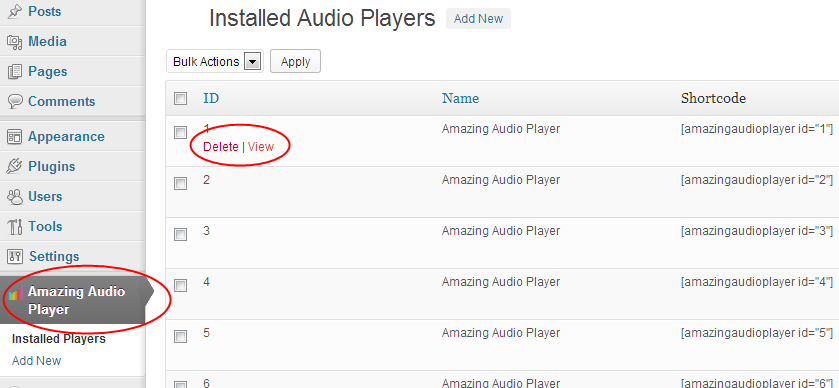
You can then copy the shortcode to your page or post. To insert the player to your template, you can copy the provided php code.
Add an extra player to your WordPress website
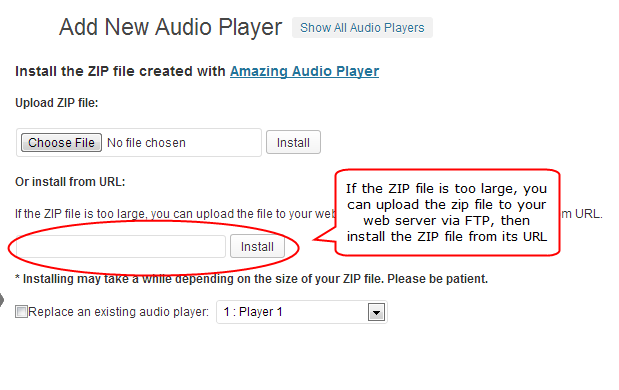
To add an extra player to your WordPress website, click menu Amazing Audio Player -> Add New.
If the ZIP file is too large, the uploading may expire or exceed the upload size limit of your WordPress site. In this case, you can upload the ZIP file to your web server via FTP, then install the ZIP file from its URL.