How to upload an audio player to Amazon S3 and embed it into your website
This tutorial will guide you how to upload an audio player to Amazon S3 then use an iframe to embed the player to your website.
Step 1 – Create an audio player with Amazing Audio Player and save the files to a standalone folder
Please view the Quick Start Guide for how to create an audio player with Amazing Audio Player
Step 2 – Create an Amazon S3 Bucket
Visit Amazon S3 homepage https://aws.amazon.com/s3/, create an AWS account or sign in to the AWS Management Console.
In AWS service console, type S3 in the search bar and select S3 to open the console.
In the S3 dashboard, click Create Bucket, in the Create Bucket dialog, enter a bucket name, follow the screens and create the bucket.
Step 3 – Upload audio player files to the S3 Bucket
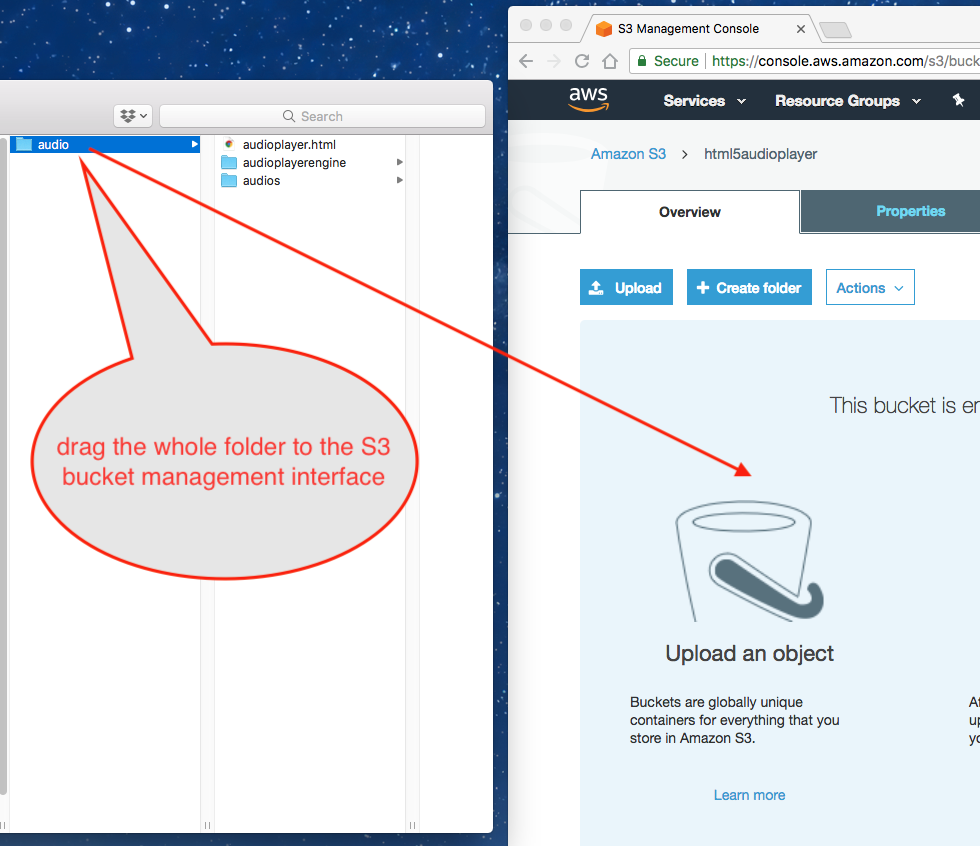
In the S3 dashboard, click the created the bucket name and open its bucket management interface.
Drag the folder that contains the audio player files to the bucket management interface.
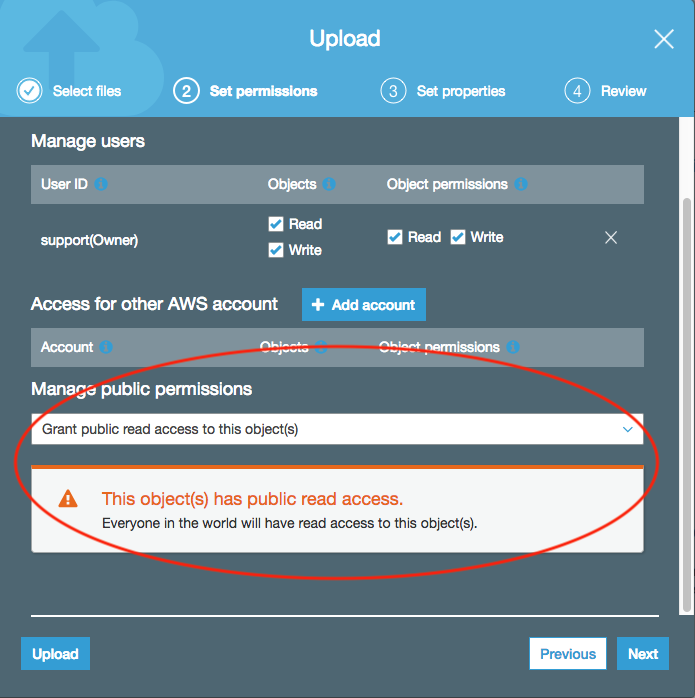
In the Upload dialog, step 2 Set permissions, select the option Grant public read access to this object(s).
Since we are going to add the audio player to a webpage and everyone who visits your webpage can visit the player, so this permission is required.
After the files have been successfully uploaded, click the uploaded folder name.
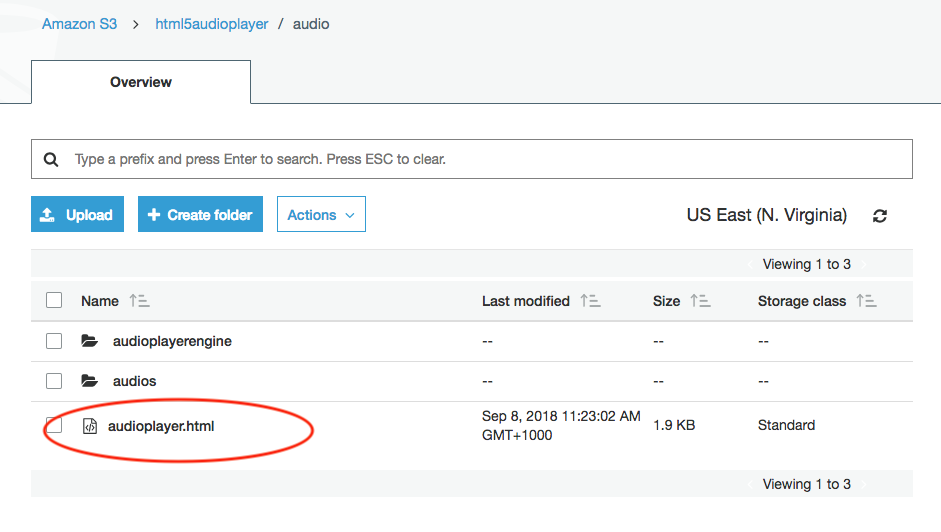
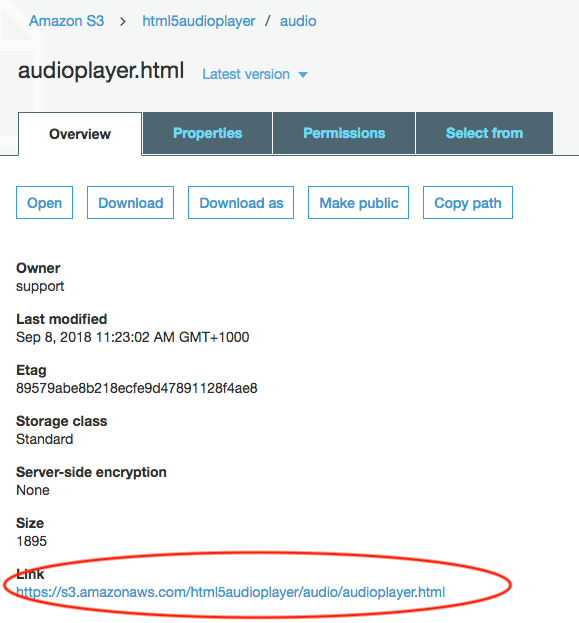
Click the file audioplayer.html and copy its link. You can open the link with your web browser and test the player.
Step 4 – Embed the player to your webpage with an iframe
Copy and add the following HTML code to your webpage editor.
Please make sure to replace the src value with your own S3 player link. You also need to change the value of width and height to the actual size of your player, otherwise, the player may be cut off.
<iframe src="https://s3.amazonaws.com/yourbucket/bucketfolder/audioplayer.html" width="400" height="300" border="0" scrolling="no" frameBorder="0"></iframe>