HTML5 Audio Player Quick Start Guide
This is a quick start guide of how to create an HTML5 audio player for your website with Amazing Audio Player.
Overview
With a wizard style and self-explanatory user interface, Amazing Audio Player is very easy to use.

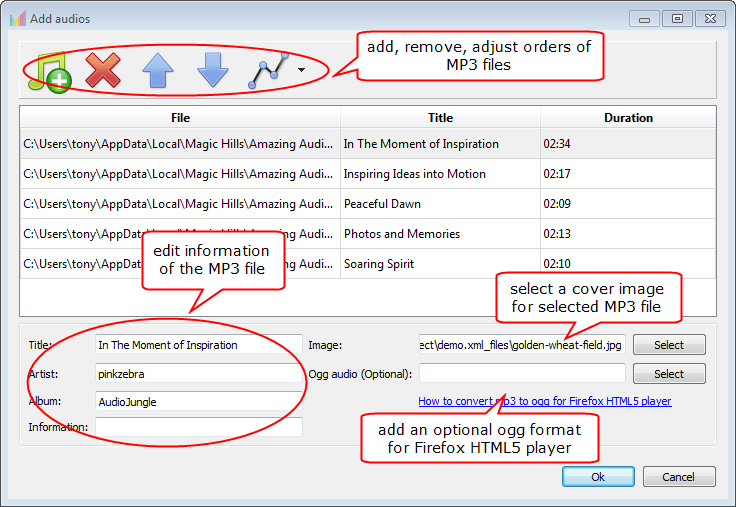
Step 1 – Add MP3 files
In step 1, you can add MP3 files, edit the title, album and artist. You can also specify a cover image for the audio file.
On Chrome, Safari, Internet Explorer 10, iPhone, iPad and Android, the audio player will use HTML5 to directly play MP3 files.
On Firefox and Opera, MP3 format is not supported by its HTML5 player, OGG format is supported instead. If an optional OGG file is provided, the audio player will use HTML5 to play the audio, otherwise, it will use Flash to play MP3 files on these two browsers.
On legacy web browsers, for example, Internet Explorer 7, 8, 9, where HTML5 is not supported or not supported very well, the audio player will use Flash to play MP3.
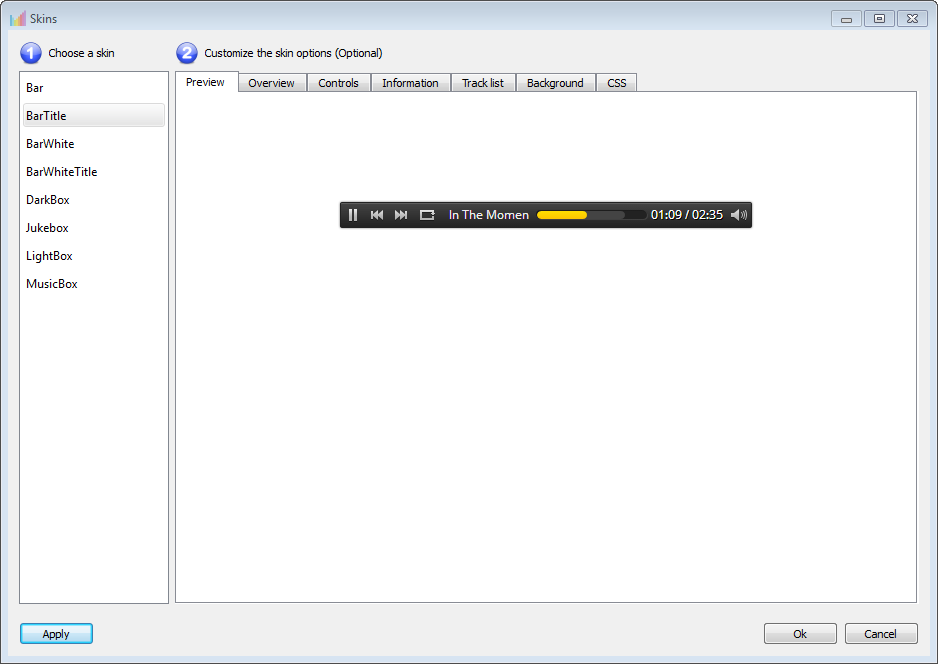
Step 2 – Select a skin
After you added the audio files, you can choose a skin for the player. If you are good at CSS, you can further customise the player with your own CSS codes.
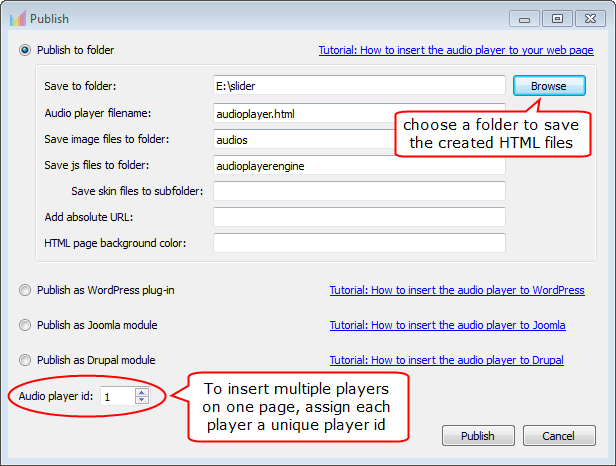
Step 3 – Publish to Audio Player
The last step is to publish the created audio player to HTML files, then you can insert it to an HTML editor, for example, Dreamweaver or Frontpage. You can also publish the audio player as WordPress plugin, Joomla module or Drupal module
For how to insert the audio player to your HTML editor, WordPress, Joomla or Drupal, you can view the following tutorials: